Getting your team set up correctly in Financial Cents is one of the most important things you’ll do as a firm owner. The wrong permissions can expose client data to the wrong staff, limit visibility for the people who need it most, or create confusion about who’s responsible for what. This free checklist walks you through every step, from sending the initial invitation to verifying each team member’s access before they start working.
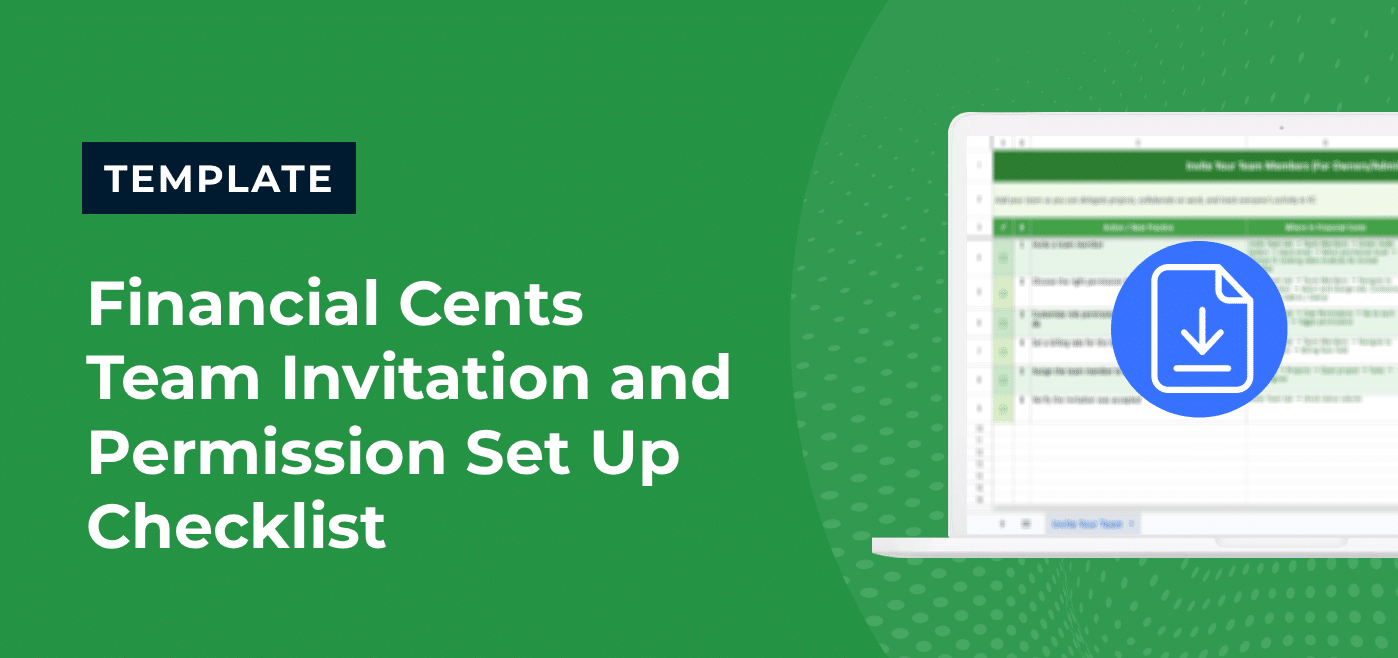
What’s Included in This Team Invitation and Permission Set Up Checklist
- Team invitation steps: how to invite staff members to Financial Cents with the correct role
- Role assignment guide: understanding the difference between Admin, Manager, Member and Contract roles
- Permission configuration: setting granular access controls for clients, projects, and firm data
- Billing Rate guide: setting up billing rate for each member to track profitability
- Existing Projects Task Assignment: assigning team members to existing projects so they’re up to speed
Why Accounting Firms Need a Team Invitation and Permission Set Up Checklist
Most firm owners invite team members to their practice management software without a plan. They send the invite, assign a default role, and move on — only to discover weeks later that a staff member can see billing information they shouldn’t, or that a manager can’t access a client they’re supposed to be running. Getting permissions right the first time prevents these issues before they start.
A structured checklist gives you a repeatable process for every new hire. Whether you’re onboarding your second employee or your twentieth, you follow the same steps in the same order — which means nothing gets missed and no one gets the wrong access by accident.
The right permission setup also protects your firm. When each team member only sees the clients and data relevant to their role, you reduce the risk of internal data exposure and make it easier to maintain clear lines of accountability across your entire team.
How to Use This Team Invitation and Permission Set Up Checklist
- Go to your firm’s Settings in Financial Cents and navigate to the Team Members section
- Send the invitation using the new hire’s work email and select the appropriate role (Admin, Manager, or Staff)
- Configure client visibility: decide whether this team member can see all clients or only specific ones
- Set project access defaults: assign any standing projects or recurring work they’ll be responsible for
- Have the new team member log in and verify that their dashboard shows the right clients, projects, and tasks before their first day of work
Related Templates


